Office eInk Screen
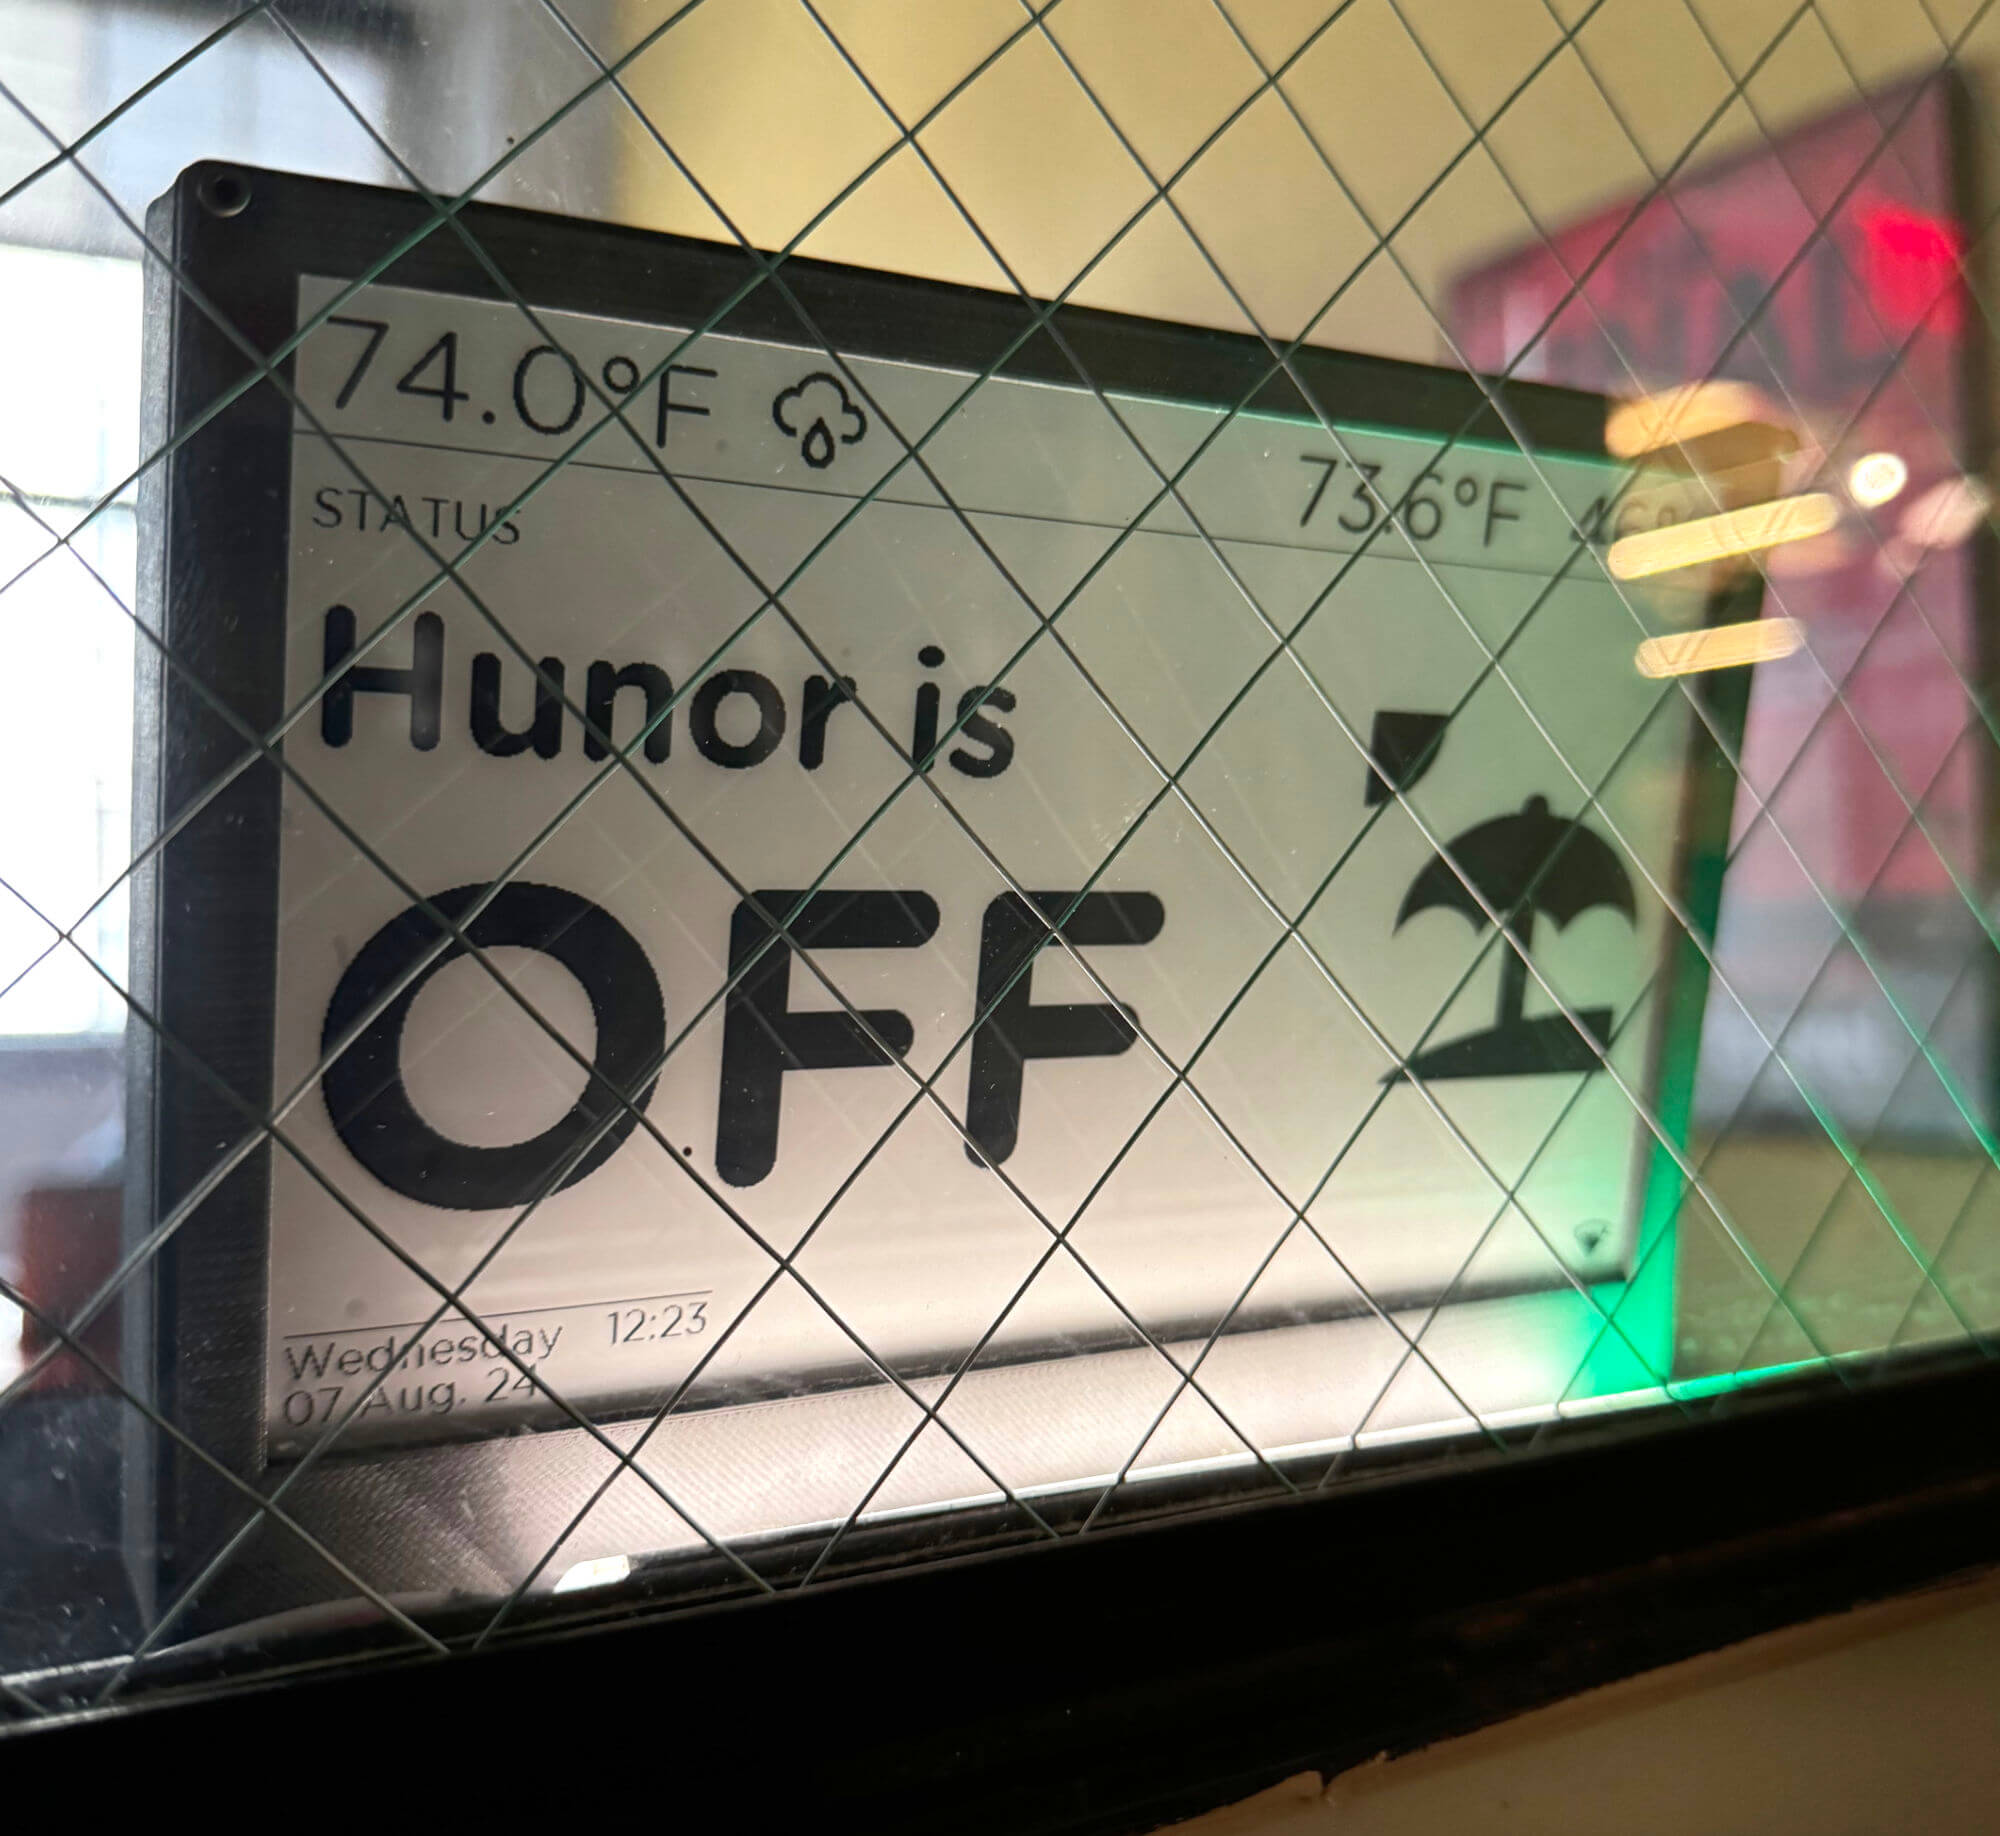
eInk screen connected to Home Assistant
This project exemplifies a typical approach of mine. I begin with a simple concept, quickly incorporate a bunch of features, and refine the design by deconstructing it and then enhancing it with useful functionalities. But I am getting ahead of myself.
Initially, the original idea was to install a display—potentially an e-Ink screen—on my office window to prevent unannounced entries during meetings. This required piecing together a lot of information—Which e-Ink displays are compatible with Home Assistant? What driver board do I need? How can I edit the data? I used the following project as a foundational reference: this.
Even though I was really happy when it first started working, nobody was reading it. I decided to add some useful features so that people would pay attention to it for helpful information instead of just whether or not I was in a meeting.
Some of that info included:
- Current indoor temperature and humidity
- Current outdoor temperature and humidity
- Weather forecast (icons)
- My distance from the office*
* I used a Bluetooth tag on my keychain.
While these features made more people notice it, I still had to frequently direct attention to the display myself, literally pointing to it at times. Thus, I recognized the necessity for a more straightforward solution. I realized that I could implement a simple, intuitive indicator, like those used in recording studios and traffic lights:
- Red = In a meeting
- Green = All clear
- Yellow = Not in the mood :)
To pull this off, I used a dig2Go WLED adapter and a really dense 5V LED strip, just to have a little glow at the bottom of the window. That mostly did the trick.
Automations
Thanks to Home Assistant (Office Assistant), I was able to tie together many pieces. In the screen’s current form:
- I can manipulate the two lines of text manually or with webhooks.
- I trigger the webhooks from my computer with a StreamDeck.
- It displays my estimated distance from the office (within Bluetooth range).
We develop things in our life to make it easier. It is not really useful if I have to change the screen’s status manually. Over the past two years, I added several really useful automations:
- Meeting mode: changing the light to red, displaying “DO NOT DISTURB,” and activating my keylight
- Showing my distance in feet using the Blue Charm Beacon BC021
- Periodic screen updates restricted to weekdays between 8 a.m. and 6 p.m.**
- Different display states depending on my presence:
- When in the office
- When off
- When working from home
(Note: The last two statuses are automatically derived from our HR application’s calendar.)
** E-Ink screens are sensitive to frequent updates; continuous updates every 90 seconds over 1.5 years caused early failure of my initial display.
The complete code is accessible on my Github.
Summary
Over the past two years with this project, I have added numerous features and made various modifications, including raising the display, installing stands to conceal cables, and automating several processes. Of particular interest is the automation that reads our shared HR calendar; depending on my status, it updates the display to show “Hunor is WFH” or “Hunor is OFF.” Although its practical impact is difficult to quantify, it has significantly reduced intrusions during meetings. One notable benefit is the sense of pride I experience when entering the office in the morning.
Hardware used
Waveshare 7.5” eInk screnn Waveshare ESP32 driver board Blue Charm Beacon BC021
Resources
https://github.com/Madelena/esphome-weatherman-dashboard